Important
Often when you use a third-party mail server (Office 365, Gmail) this can cause issues with emails being sent va the website. Contact forms, booking confirmations and shop notifications may fail to send. Please be aware that you will likely need to install a SMTP plugin on your website after you have switched to G Suite in order for you to continue to receive emails via your website.
In order to use your domain with a custom G Suite email address, you need to make changes to your DNS settings. Fortunately, we make that super easy for you by including one-click G Suite setup.
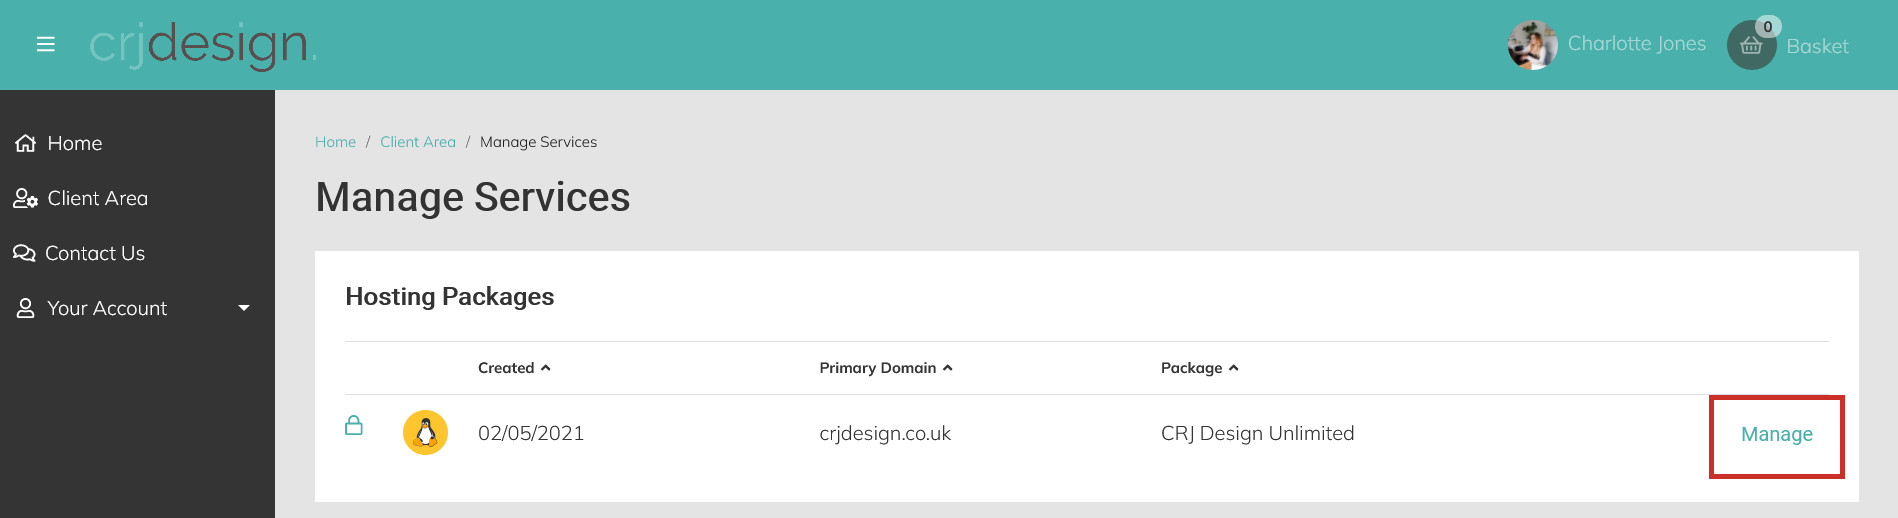
First, login to your hosting portal and click Manage next to your domain’s hosting plan:
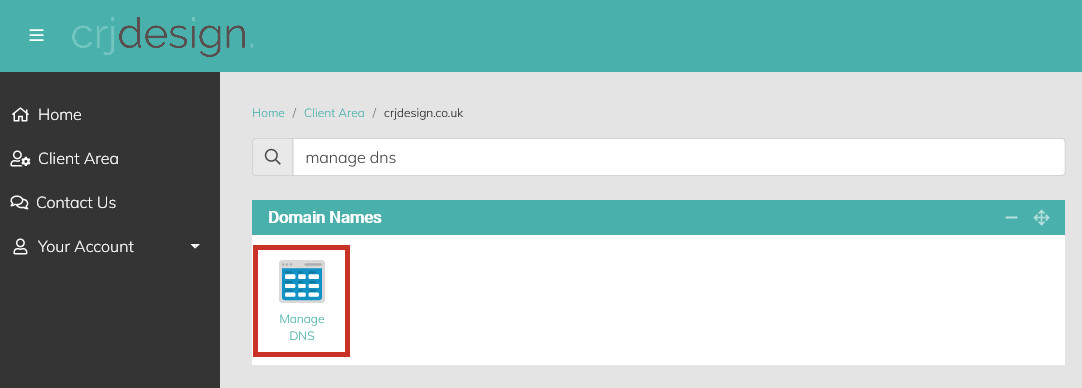
Click Manage DNS under the ‘Domain Names’ heading (or search for ‘manage dns’ in the search bar):
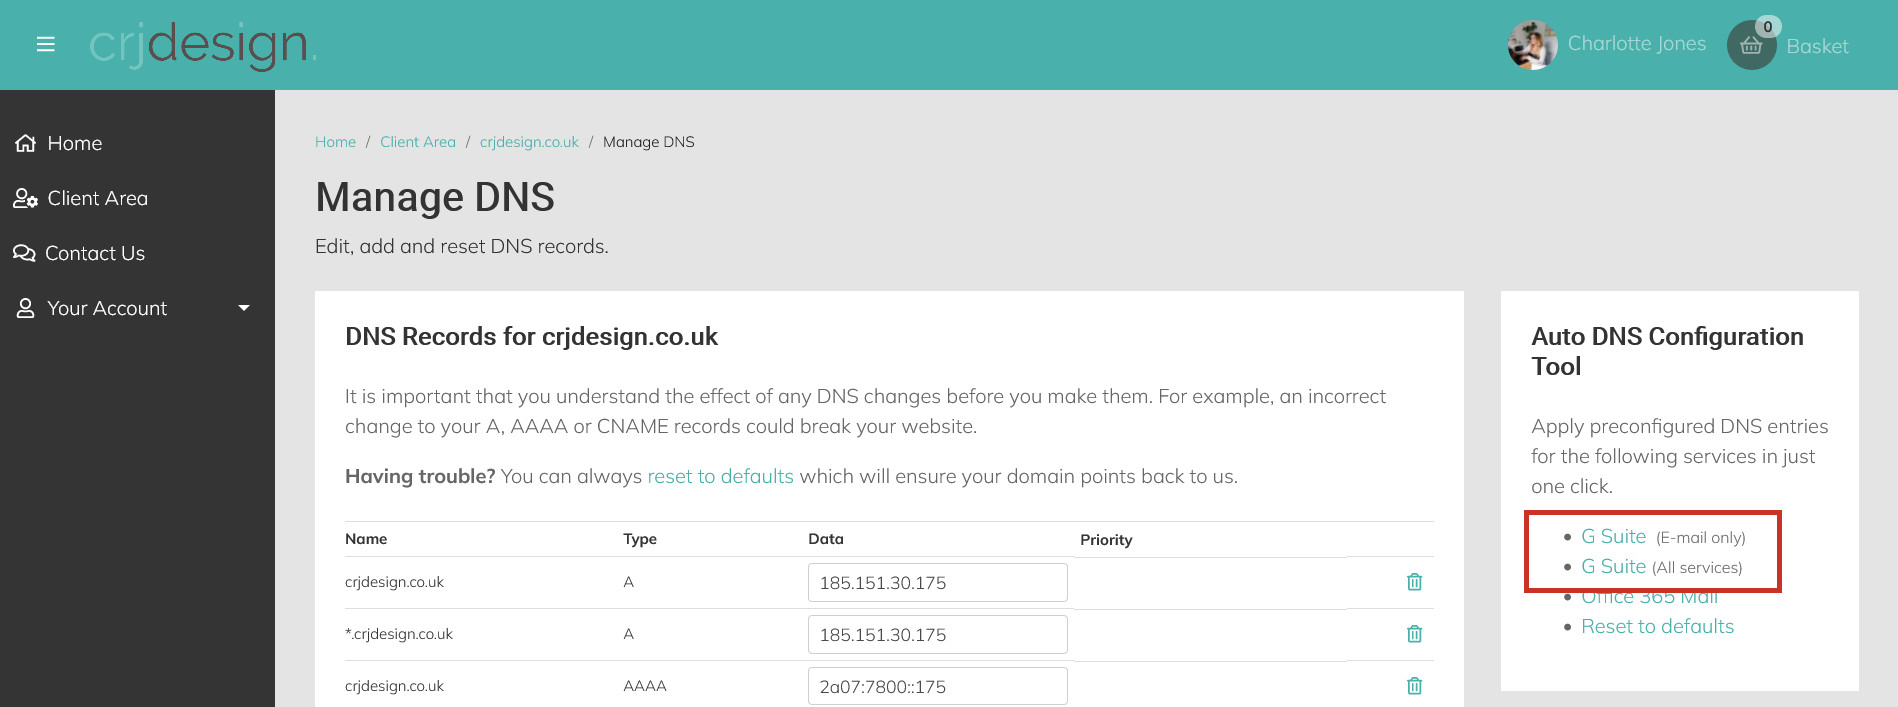
On the right-hand side you will see a box with the heading ‘Auto DNS Configuration Tool’. The configuration you should use depends on the services you want from Google. If you’re using Google just for mail under your own domain name (MX records) use the G Suite (E-mail only) link. For all the other G Suite applications, including records for Docs, Chat, Calendar, and services like Hangouts, use the G Suite (All services) option:
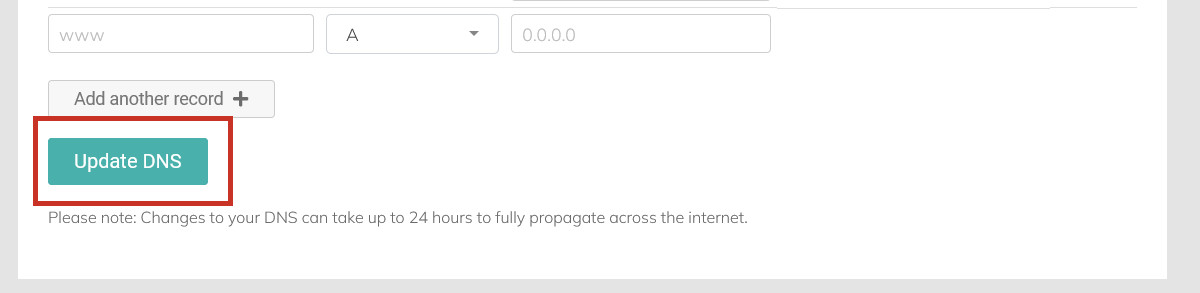
After clicking one of these links, you will see that changes have been made to your records. Click the Update DNS button to save these changes:
Please Note
DNS changes can take up to 24 hours to fully take effect.