How to add a new blog post

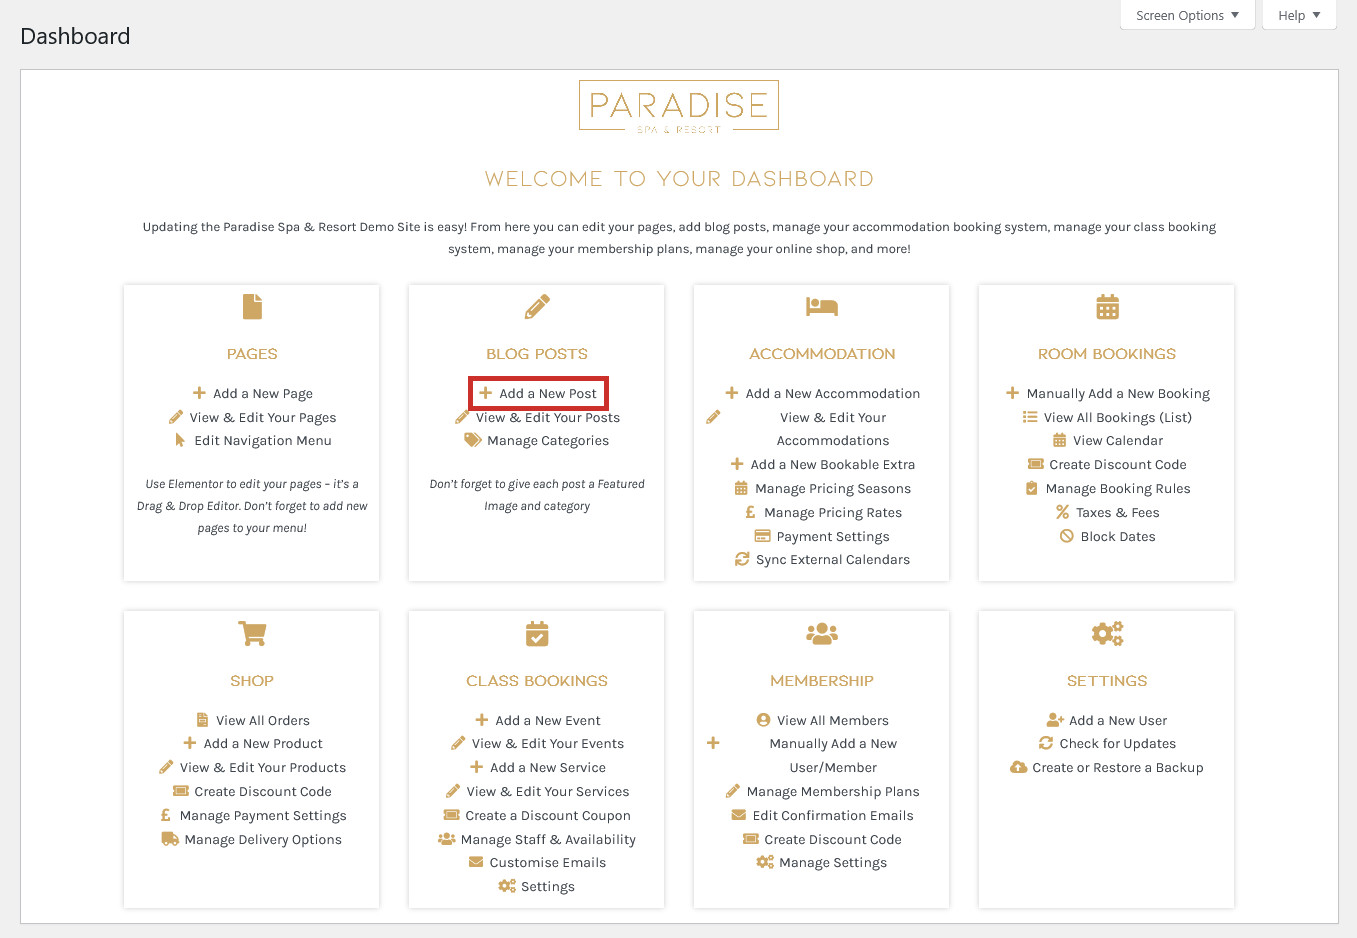
To add a new blog post, use the Add a New Post link in your dashboard under the ‘Blog Posts’ heading:
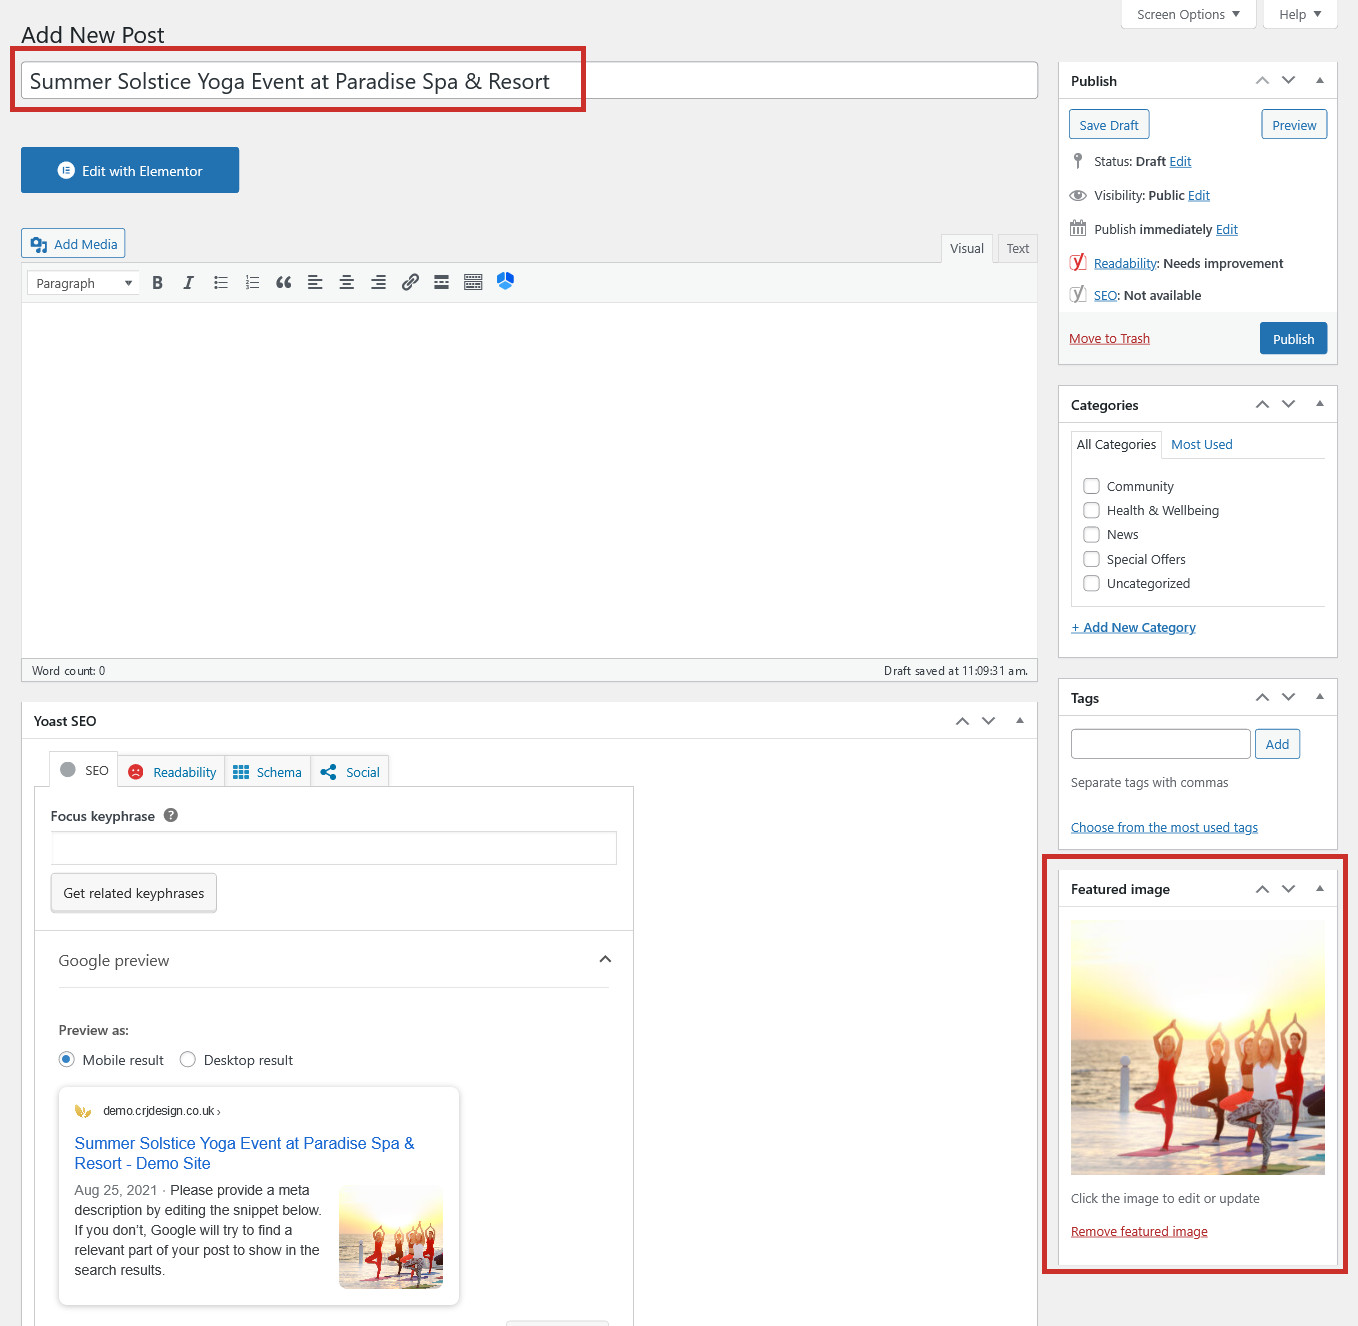
Give your blog post a relevant Title and a Featured Image (recommended, but optional). The featured image will be the main image used for the blog post, used in post listings and visible at the top of the post:
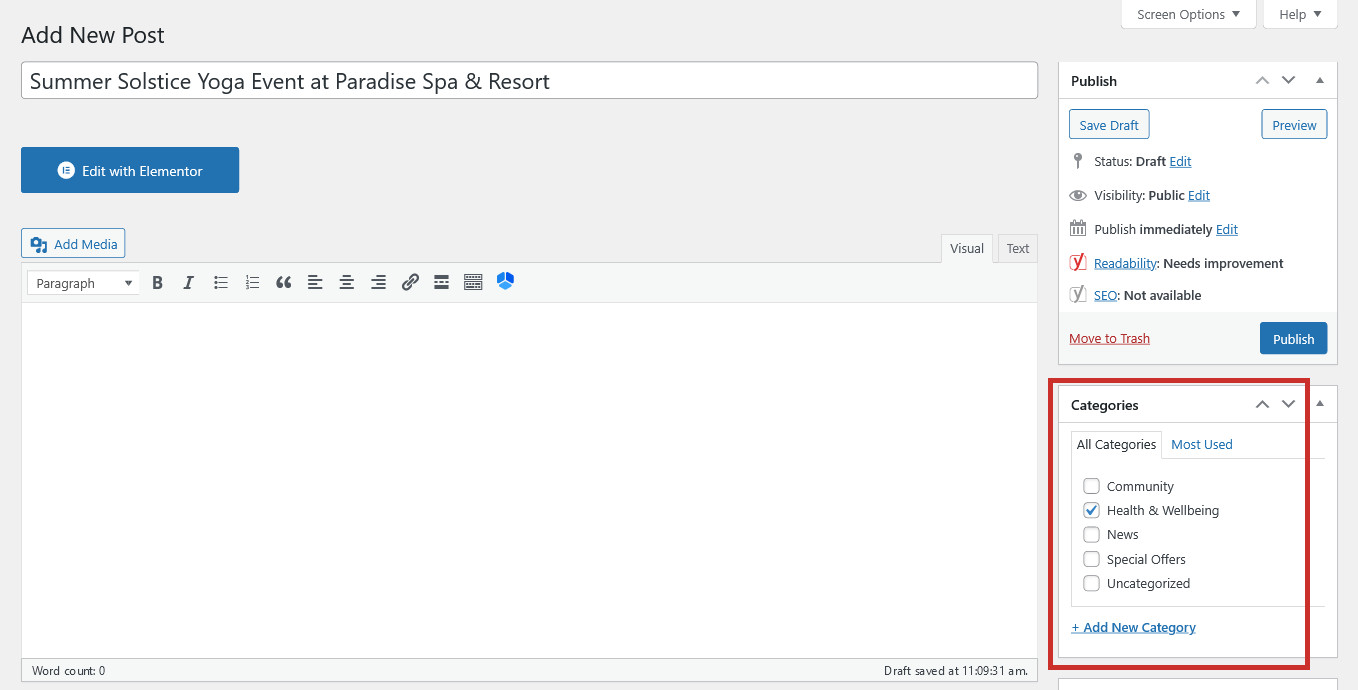
(Recommended, but optional) Next, give your post a relevent Category (or choose multiple categories). Simply choose an existing category from the list, or click ‘+ Add New Category’ to make a new one. Categories make it easier for your website visitors to find what they’re interested in and allow you to group posts of the same theme together:
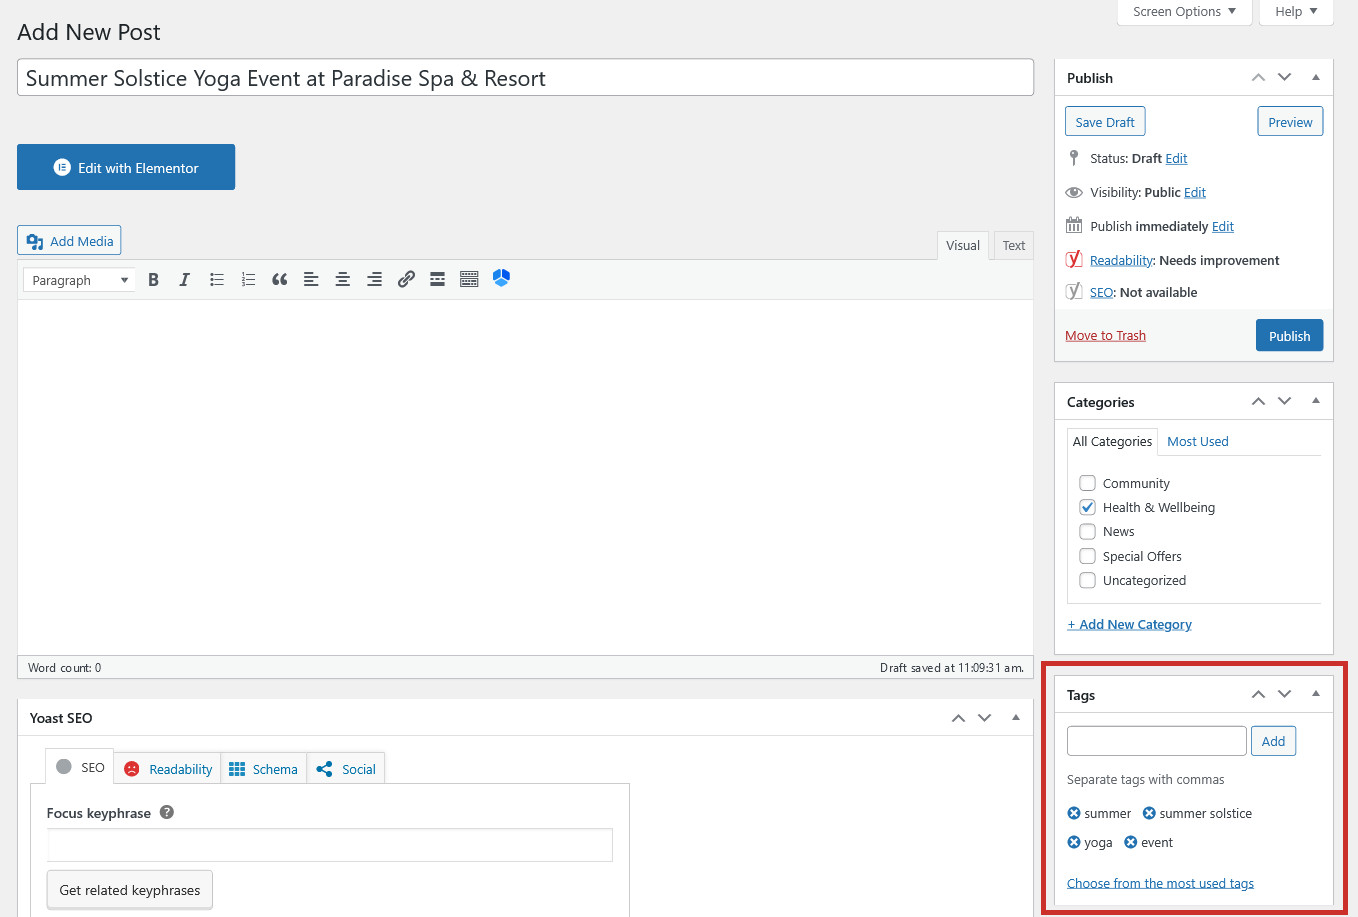
You can also choose to add relevant Tags to your post to label your post with themes and ideas which your post is about. Unlike Categories, your tags won’t be displayed, but they can help people find the article when searching for relevant terms on your site:
The actual content for your blog post can be typed out in the Editor. Here you can format your text with links, lists, bold & italic text, and images (using the ‘Add Media’ button). Don’t forget to use sub-headings (Headings 2-6) throughout your blog post using the ‘Paragraph’ drop-down:
Alternatively, if you want to make your blog post more visually appealling and make use of the range of layouts and widgets available in Elementor, you can use the ‘Edit with Elementor’ button to create your blog post in the Elementor drag-and-drop editor instead:
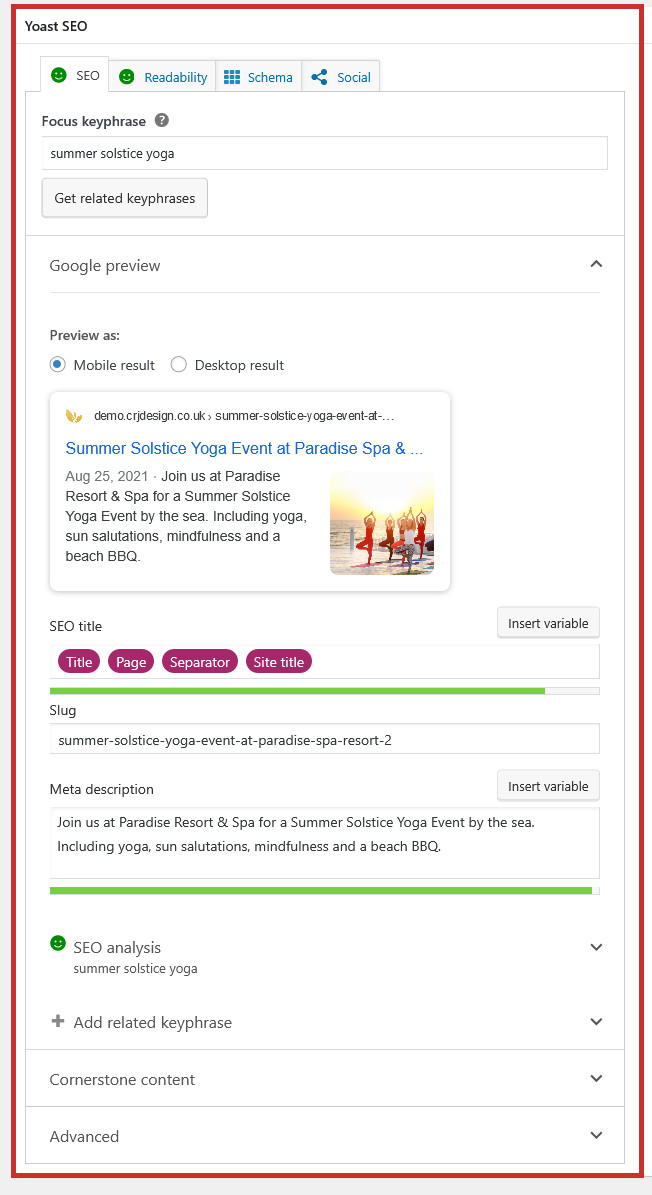
Before publishing, optimise your post for SEO using the Yoast SEO tool:

Publish your blog post

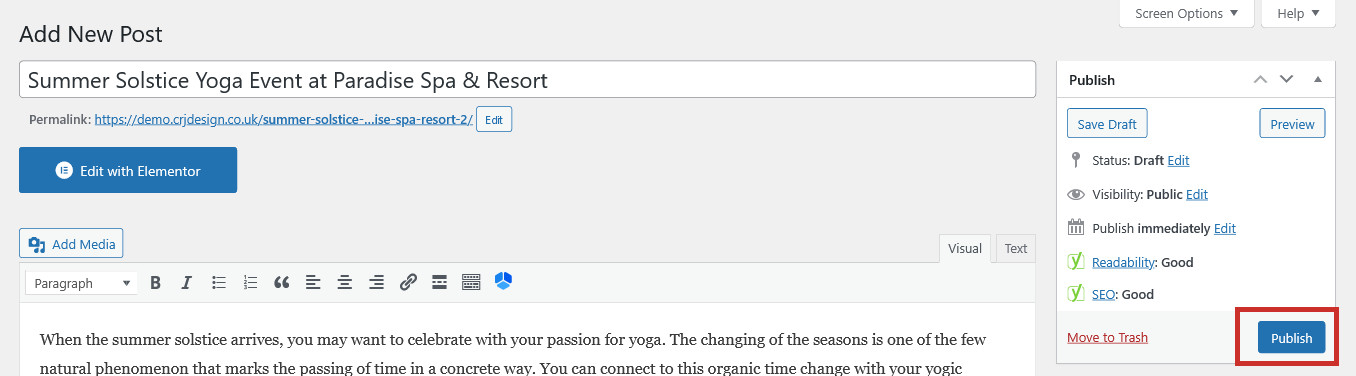
When you’re done, you can Publish your post to make it live:
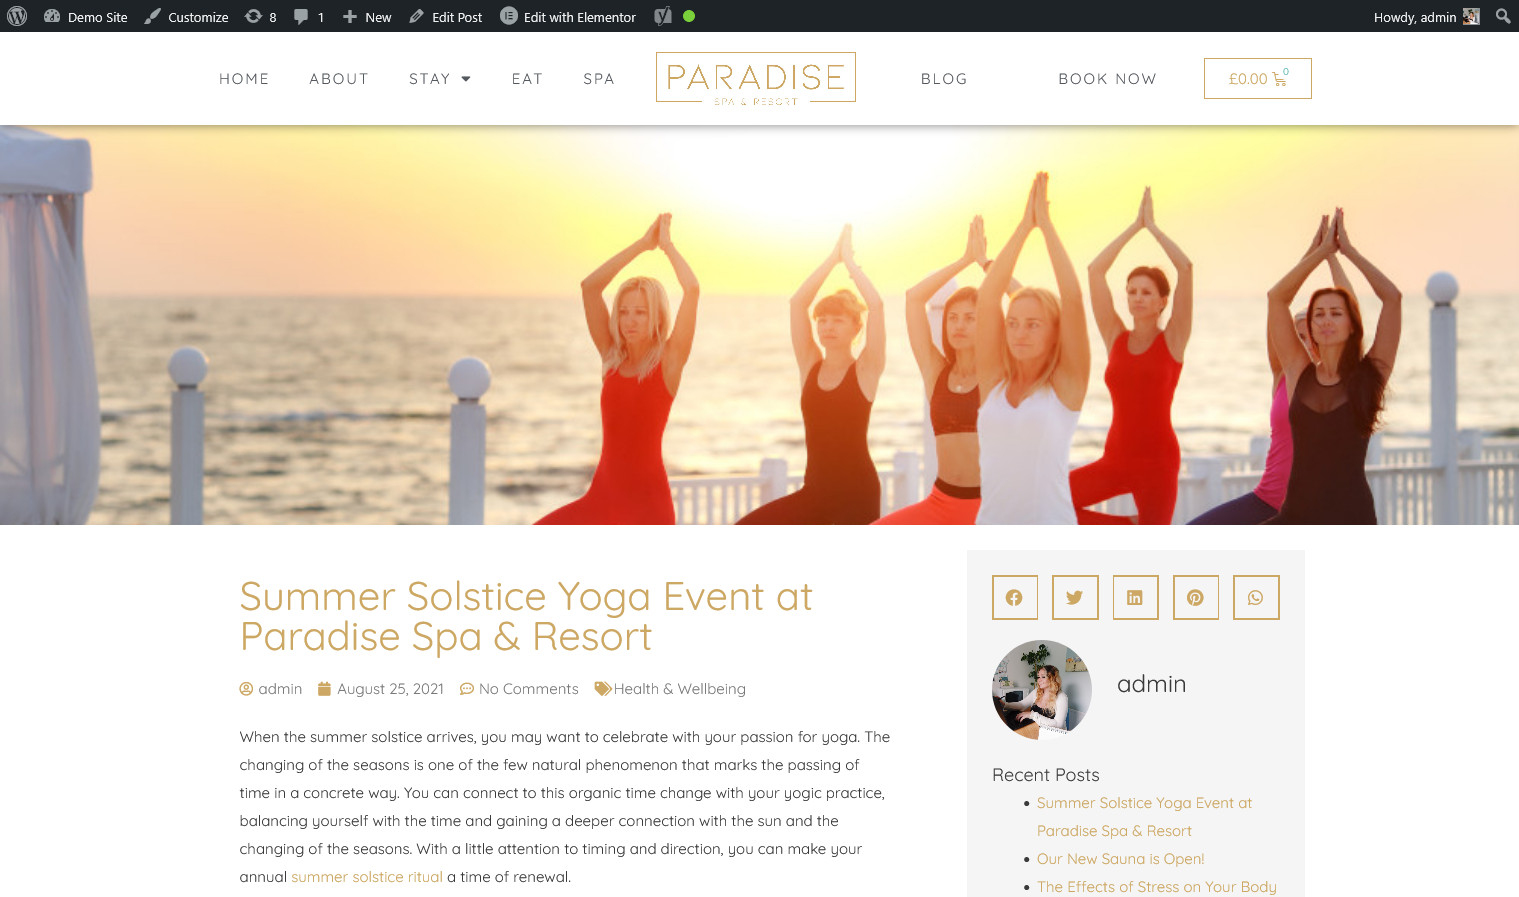
This will publish the blog post to your website, where it will be visible on the blog page and anywhere that you’re displaying your latest posts (such as the Home Page). See how the blog post will look to your visitors below (click the plus icons for more information):

Blog Title

Featured Image

Category

Blog Post Content

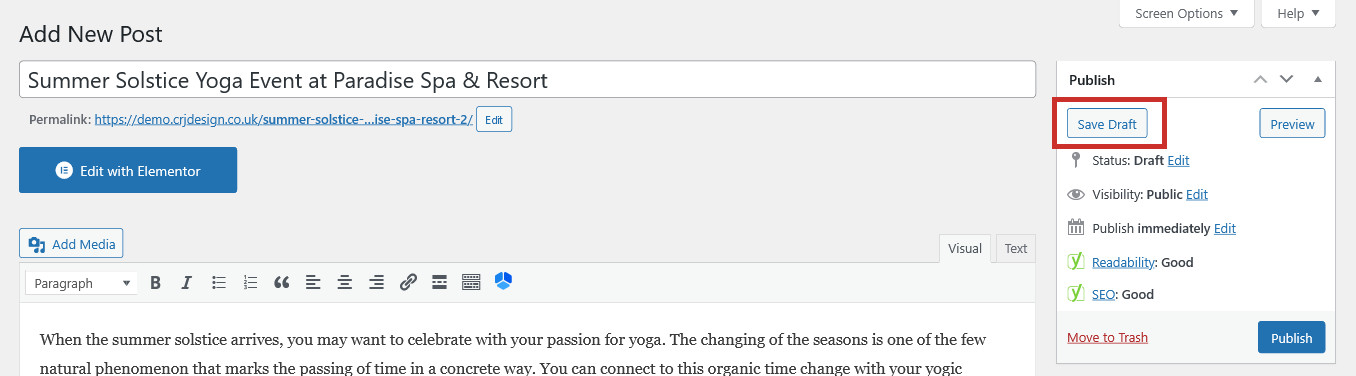
Save your post for later

If you’re not ready to publish just yet, click Save Draft instead to save your progress and come back to it later:

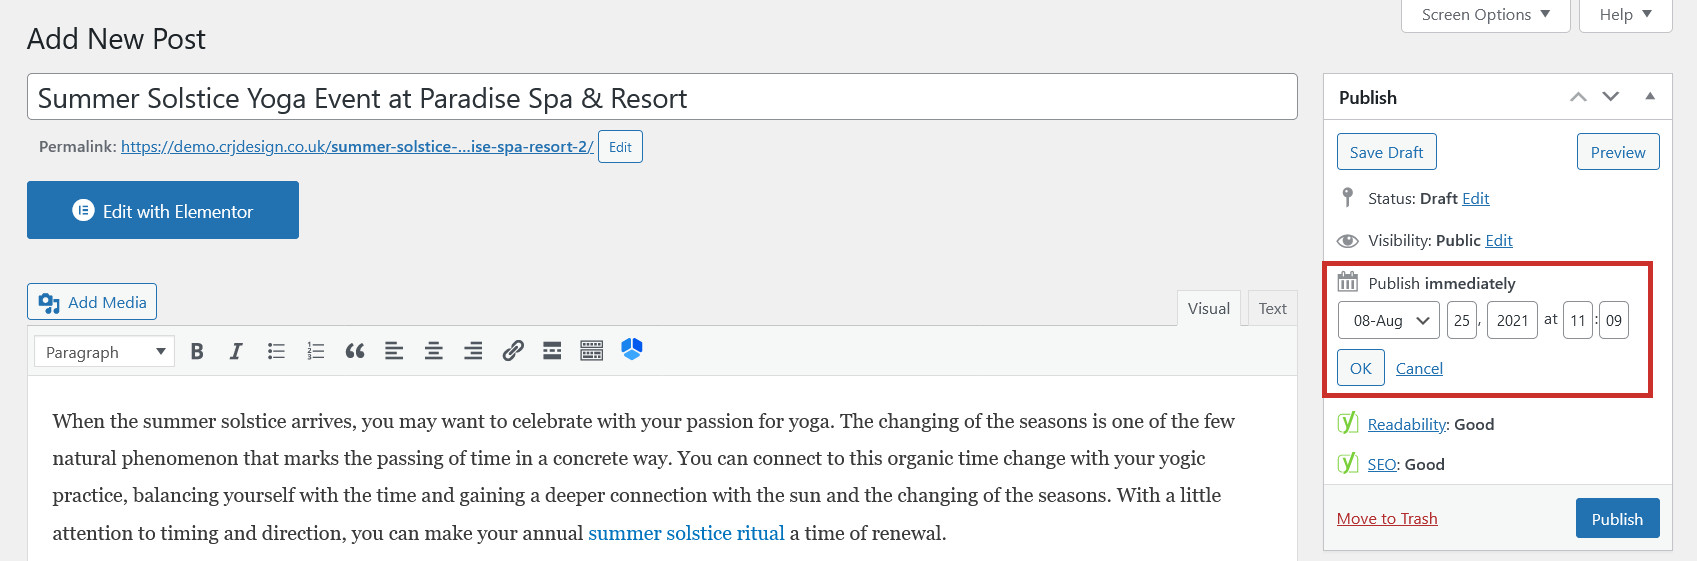
Backdate or schedule your post

You can choose to backdate or schedule your post instead of posting it immediately. Click Edit next to the ‘Publish Immediately’ setting and you can choose a date in the past (which will publish your post now but make it look as though it has been posted a while ago), or a date in the future which means it won’t be live on your site until then:
Blogging Tips

  • Blog regularly (weekly or fortnightly) to keep your customers up-to-date, and to improve your SEO
  • Aim for a minimum of 300 words
  • Use free stock image websites such as Pixabay, Freepik & Pexels to find relevant photos for your blog posts if you don’t have any imagery of your own
  • Optimise your post for SEO with the Yoast SEO tab
  • Share every new blog post to your social media pages so people can see it
  • Link to your products/services to encourage sales
  • Use sub-headings (Headings 2-6) throughout your post
  • Never use Heading 1 as a sub-heading; this is for the post title only