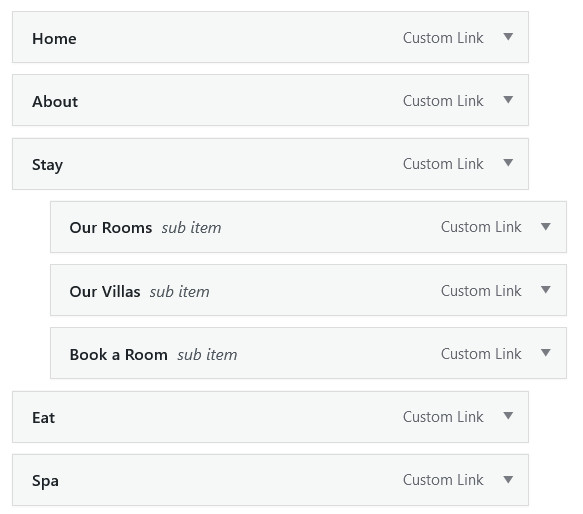
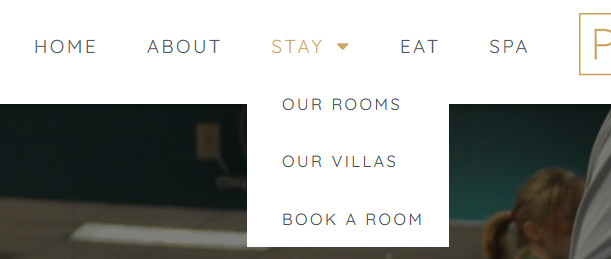
Your menu is the main navigation bar on your website, which links to your pages. It typically sits at the top of your website, like this:
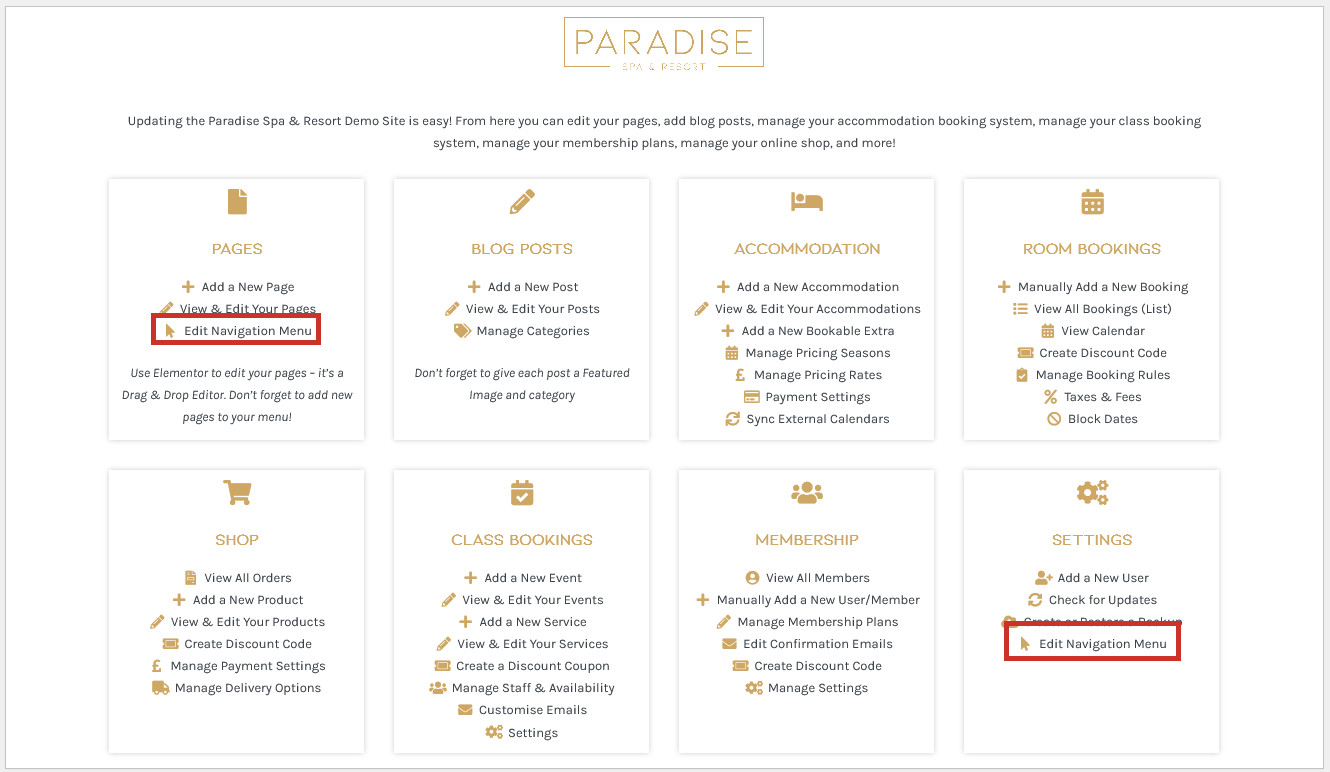
You can edit this menu to add new pages, remove unwanted pages, or link to specific product/blog post categories. To edit your menu/s, use the Edit Navigation Menu link in your dashboard under the ‘Pages’ and/or ‘Settings’ heading:
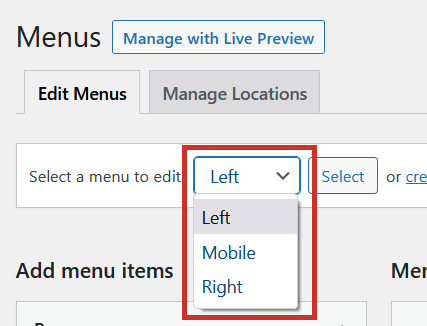
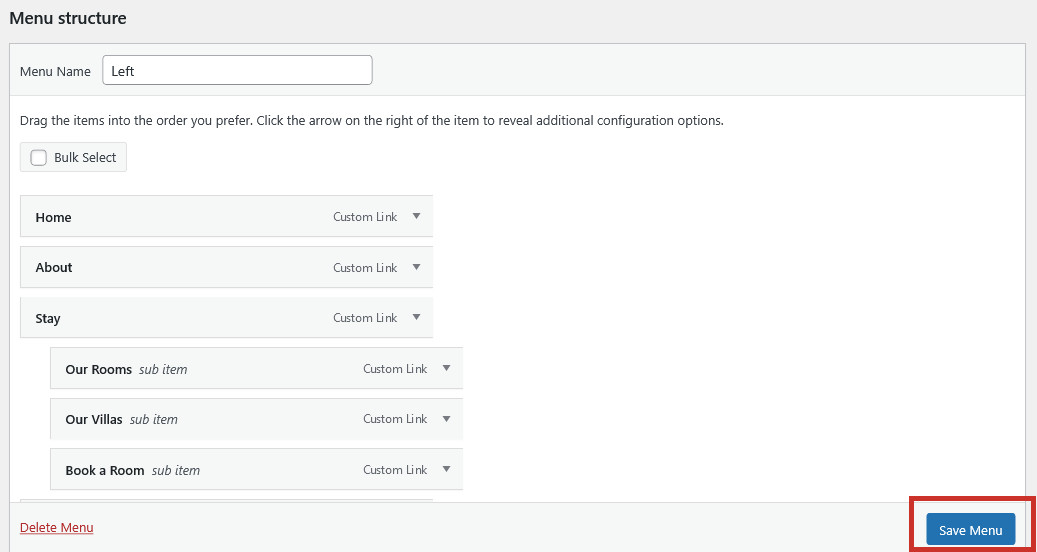
This will take you to the Menu editor. If you have more than one menu (typically, this will be if you have a menu split either side of the logo), you can select which menu you’d like to edit using the Select a menu to edit drop-down, and clicking Select:
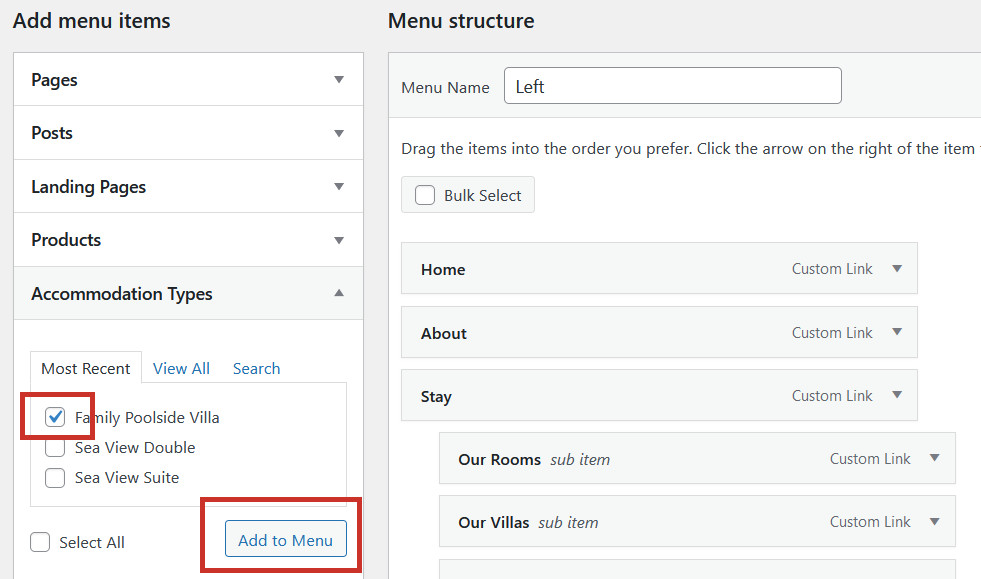
To add a new page (or post, category link, accommodation etc.) to the menu, simply locate the item you’d like to add from the Add menu items section, tick the checkbox next to it, and click Add to Menu:
To remove a page from the menu, click the arrow next to the page name to expand it and click Remove (note that this will not delete your page, only remove it from the menu):
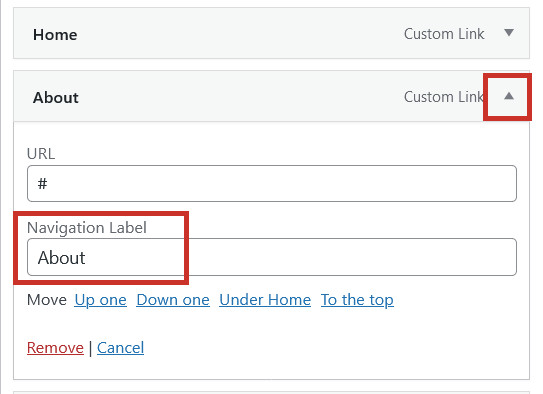
To rename a menu item, click the arrow next to the page name to expand it and type a new name into the Navigation Label field (not that this will not change the title of your page, only its appearance in the menu):